

How To Draw Hair Underwater
In this article, we will try to draw underwater, which is easy to do without difficult background knowledge.
If you want to add atmosphere and narrative to your illustrations, please give it a try.
1 Surface
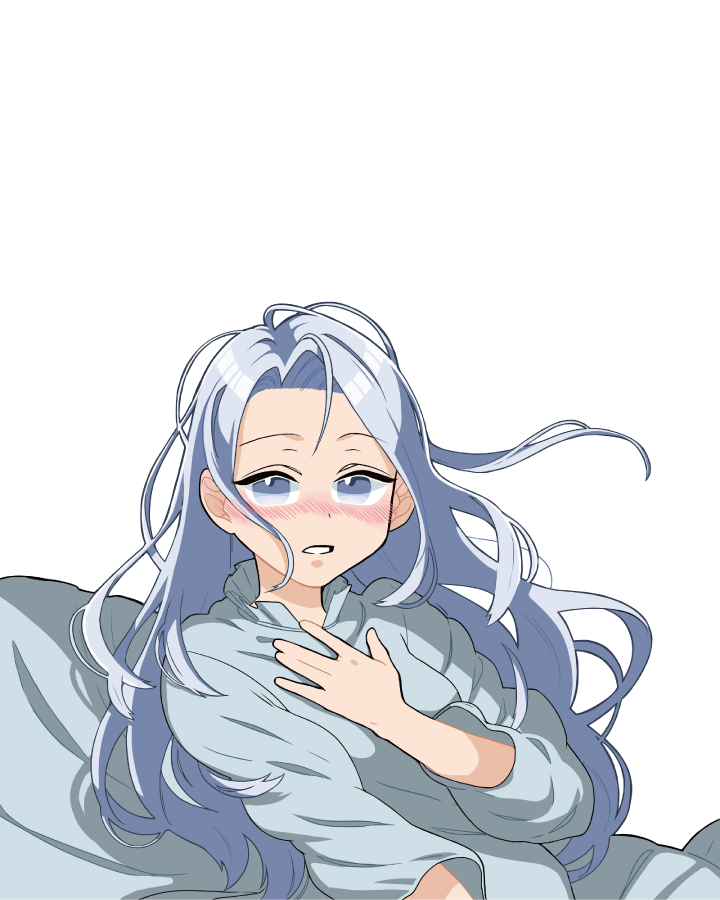
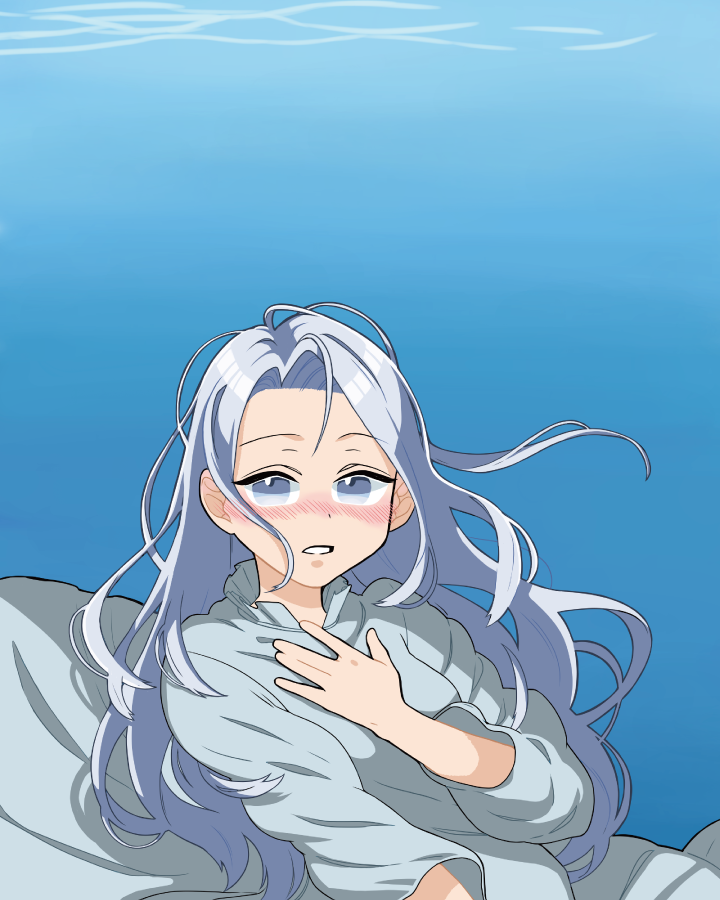
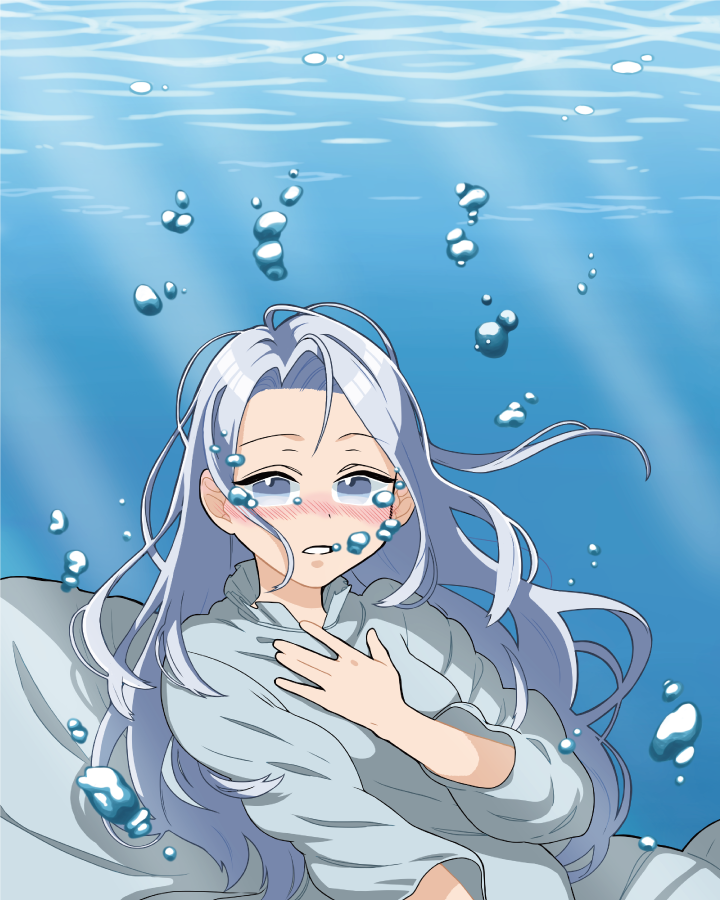
First of all, we will prepare a character to float on the water.
I decided on a girl with a delicate, pale atmosphere that seems to melt into the water.
Create the character according to your own image.
If you make her long hair fluffy and her clothes fluttering, it will be easier to express the underwater atmosphere.
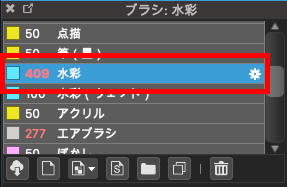
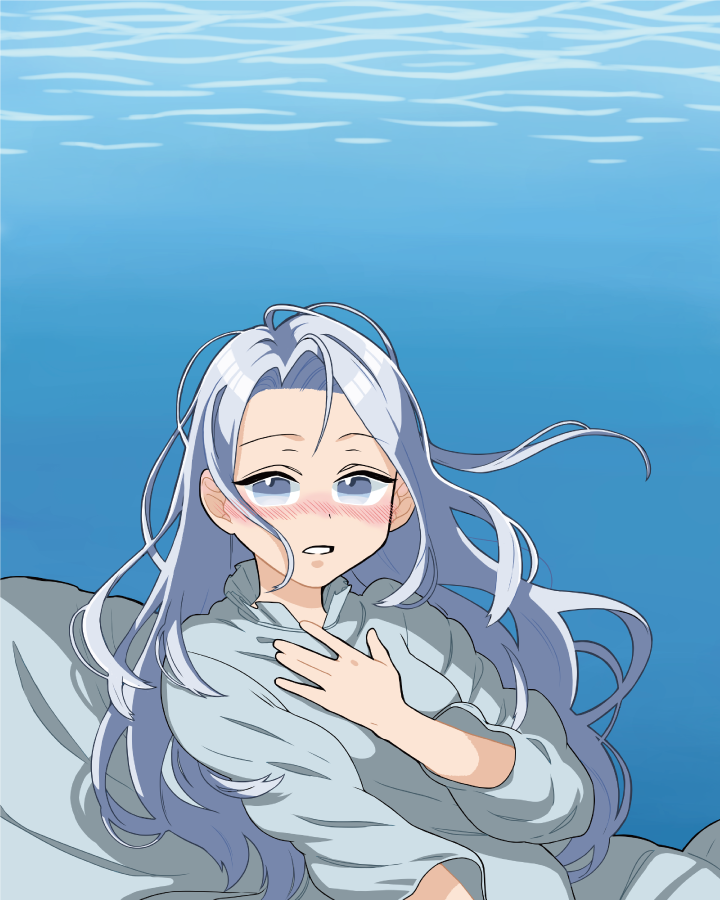
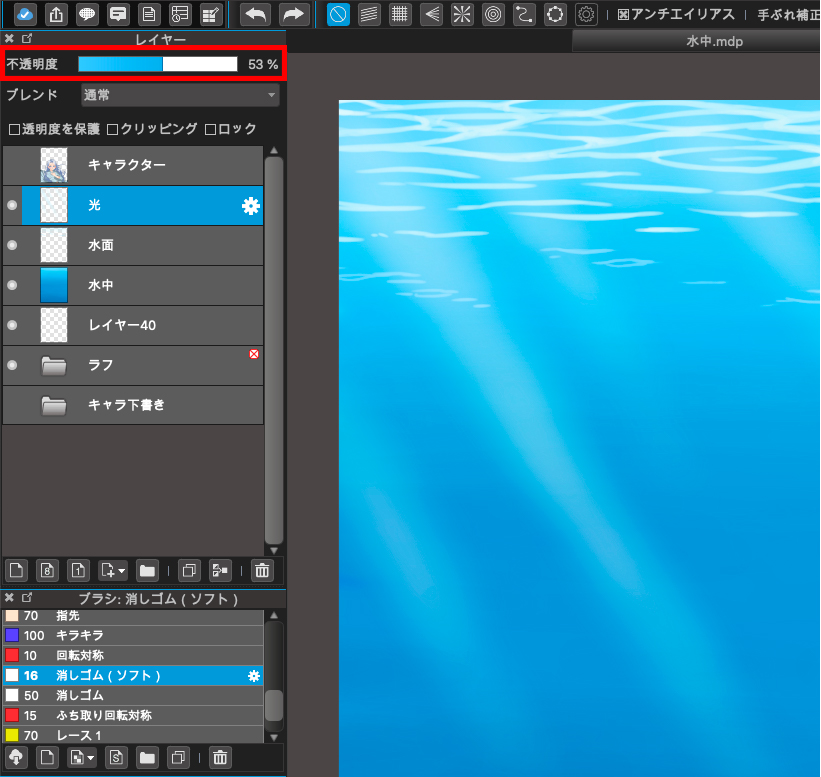
The next step is to paint the canvas with the underwater blue.
This time I used a watercolor brush.
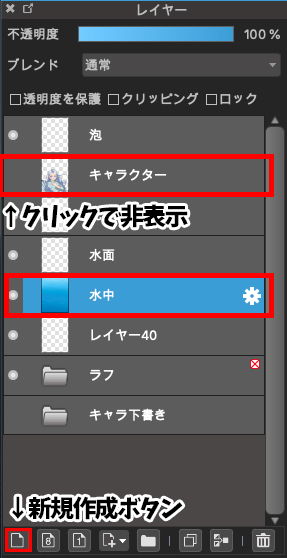
Spread the paint on a new layer so that it is a deep blue from top to bottom.

This time, create a layer under the character layer.
Let's hide the character layer and see how the whole thing looks.
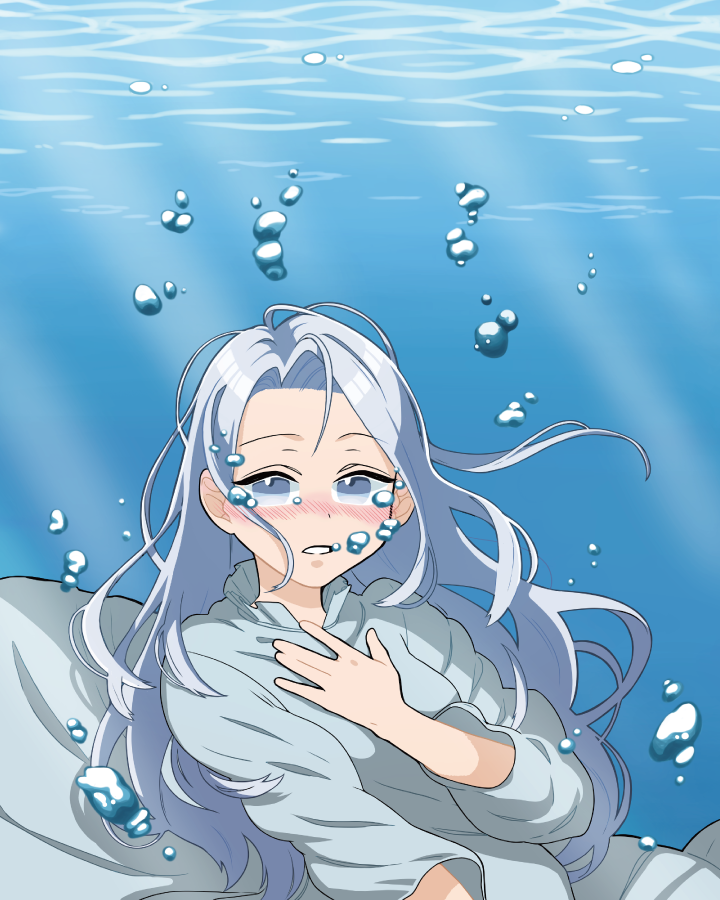
This is what it looks like when the character is displayed.

The next step is to draw the water surface.
We will use a white light blue color and spread it out like a mesh.
Proceed with a little less pattern as you extend downward.
I weakened the whiteness to make it more depth conscious, and added another level of smaller pattern as you go down.

2 lights
The next step is to create the light coming into the water.
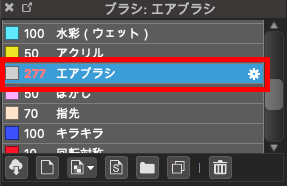
This time I used an airbrush.
The pattern is placed in a constant direction from top left to bottom right.
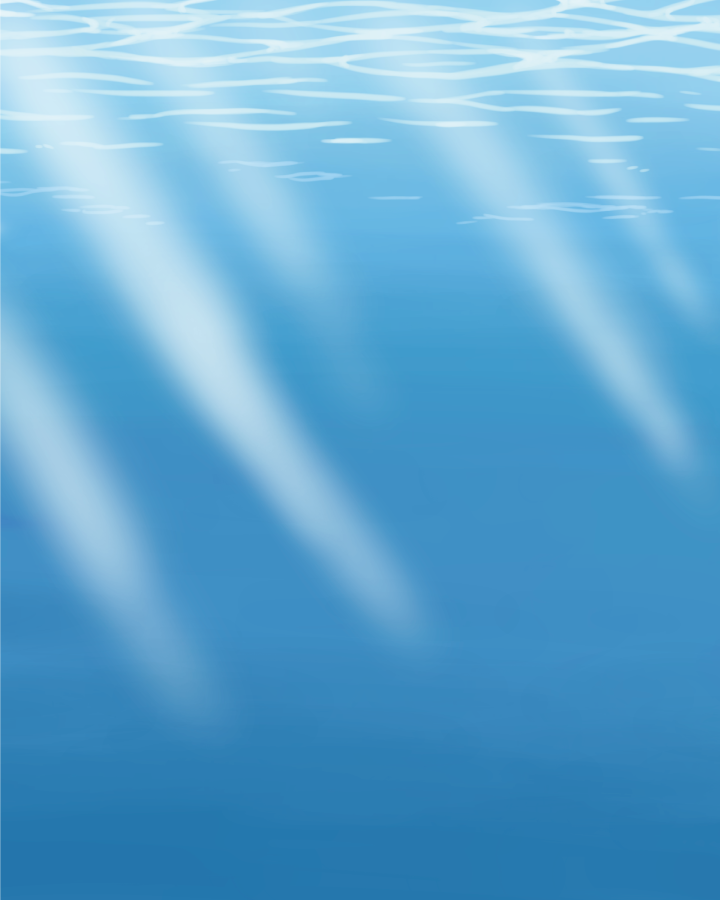
We want to make the color a little more pale, so we'll lower the opacity to make the light gentler.
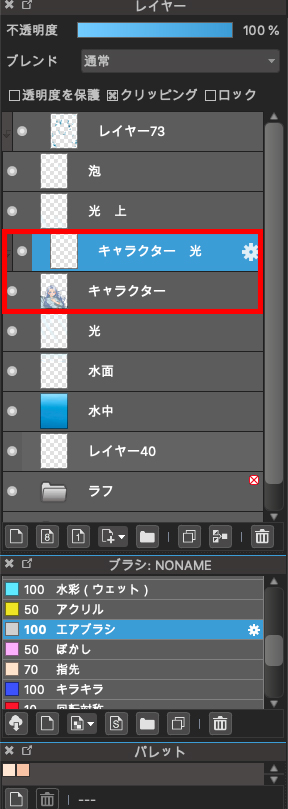
In the same way, we will now add light to the character.
Create a new layer above the character layer and add the same airbrush.
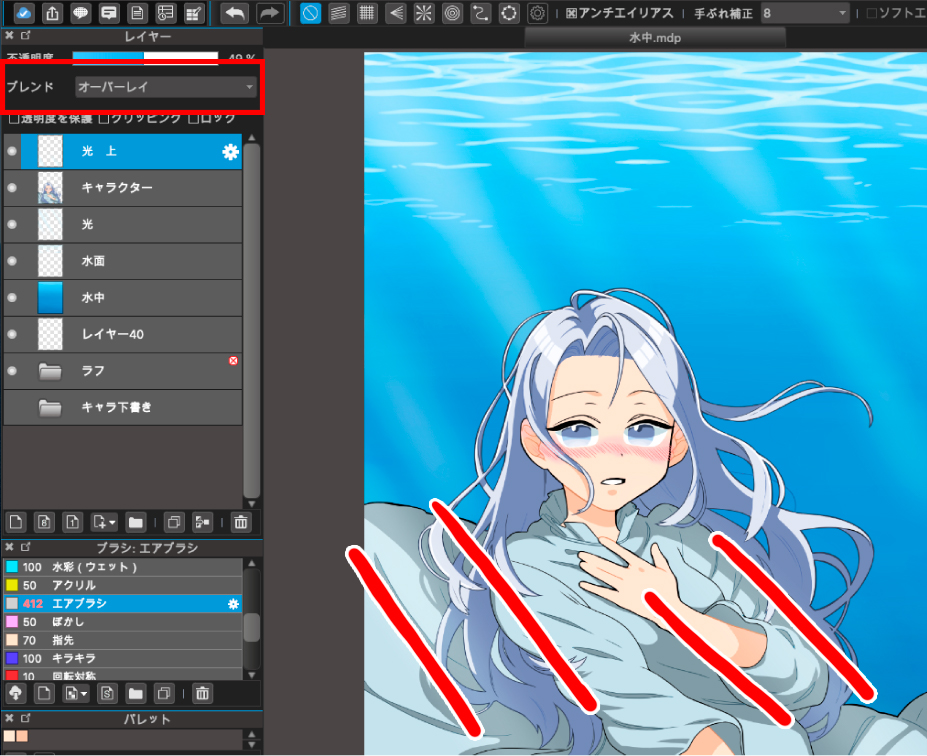
This time I have selected Overlay in the Blending section to adjust the vividness.
Here's the whole thing.
3 bubbles
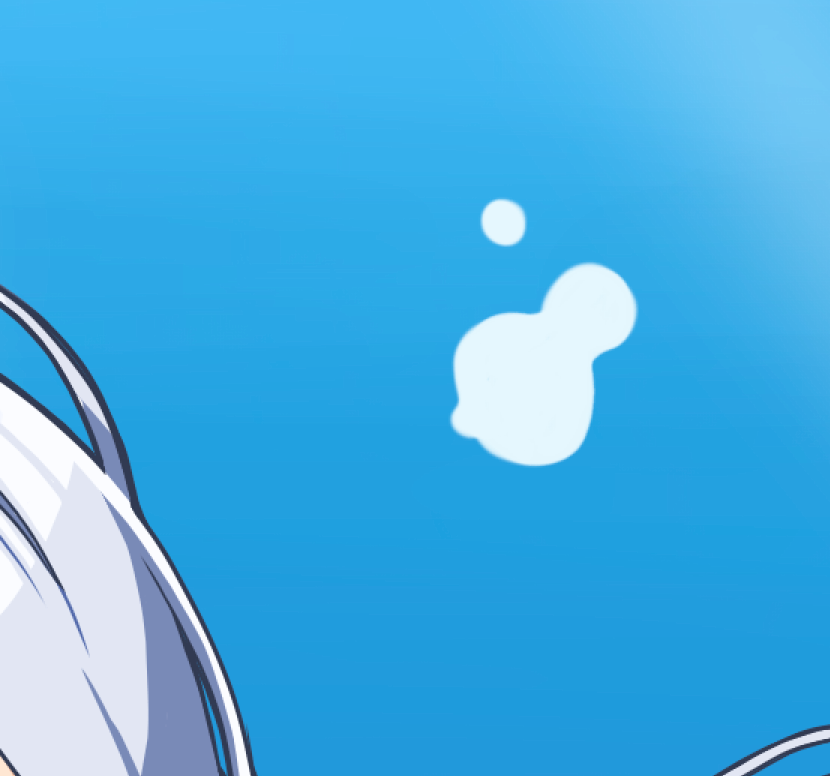
Next, let's draw the bubbles.
First, we'll use white to create the bubble shape.
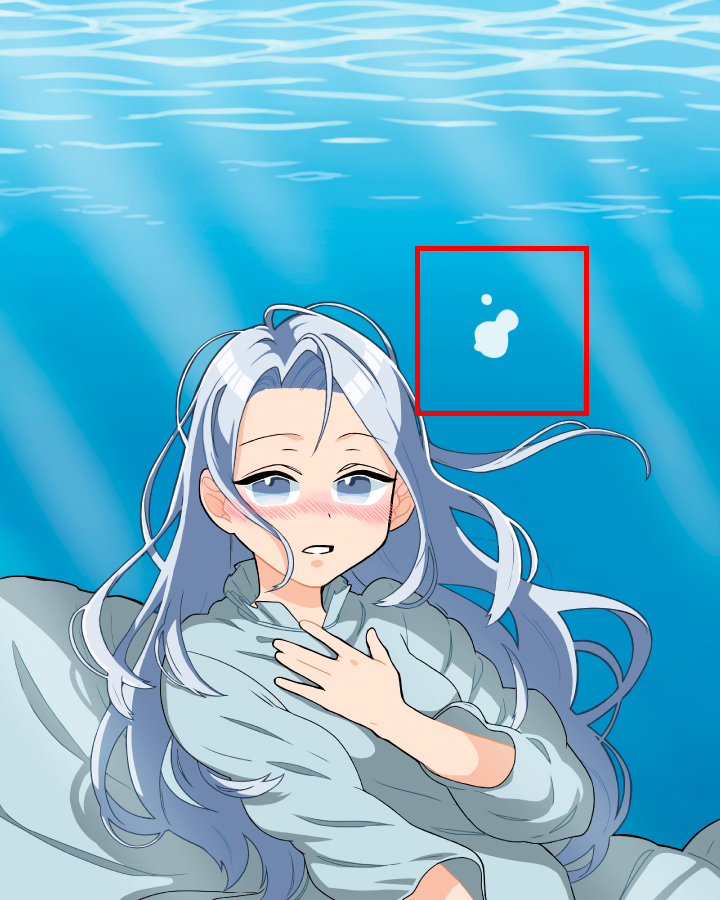
Click here to enlarge.
If you draw several round shapes overlapping each other, you can express a bubble-like effect.
Next, create a new layer on top of the layer where you created the bubble, and click on Clipping.
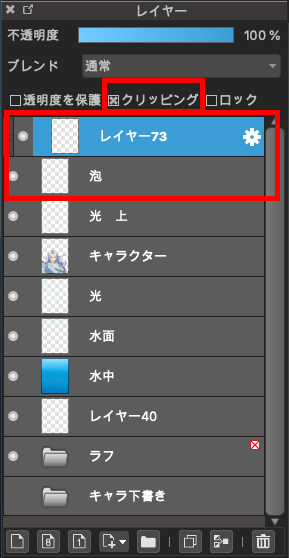
Next, we will draw the bubble pattern on the clipped layer.
(1) Color the lower half of the layer with a darker blue.
(2) Add another deeper color to the bottom half to give the bubbles a 3D effect.
(3) Adjust the intensity of the color to make it blend in with the overall look.
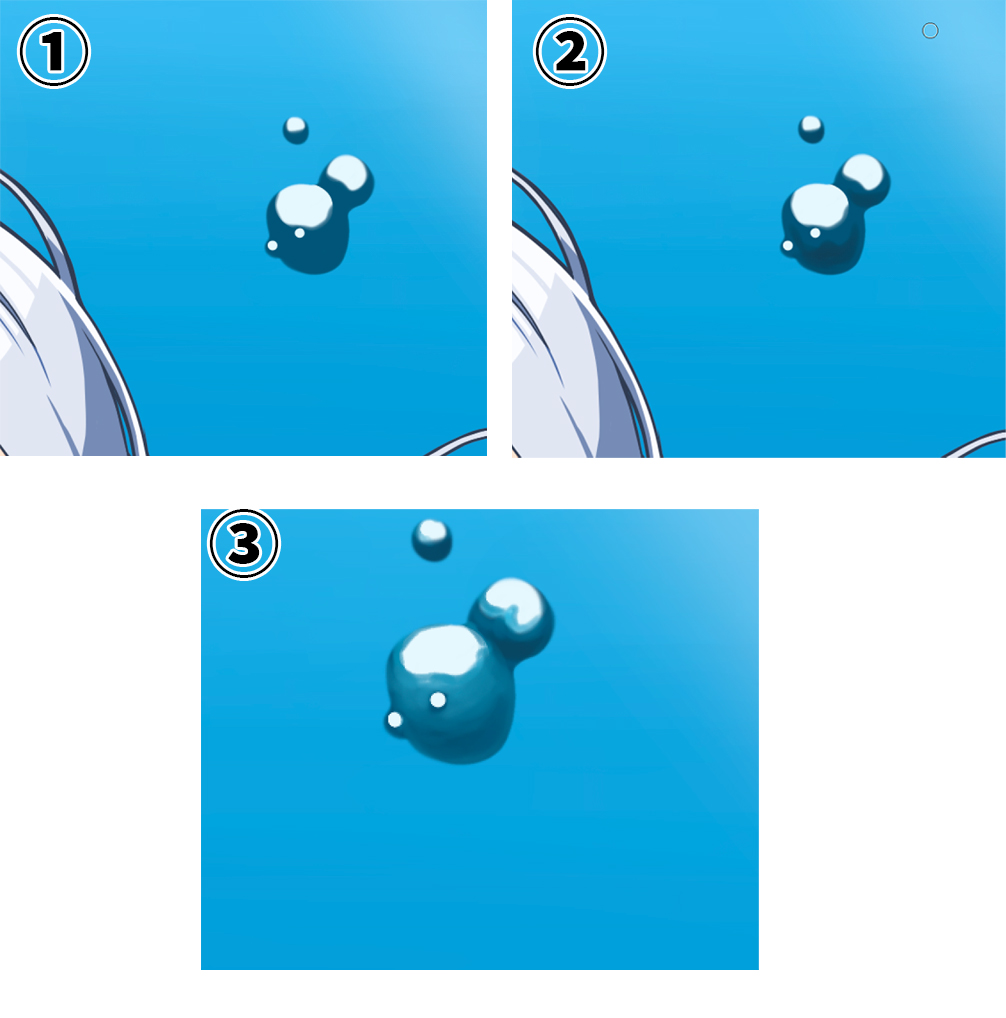
Click here to see the bubble you created.
Follow the same procedure to create bubbles all over the entire image.
It's getting very close to completion.
4 character editing
The next step is to change the character so that it blends in with the blue color of the water.
Create a new layer and clipping to the character layer.
We will use the airbrush to apply color to the layer we created.
Use a bright light blue to give it a fluffy color.
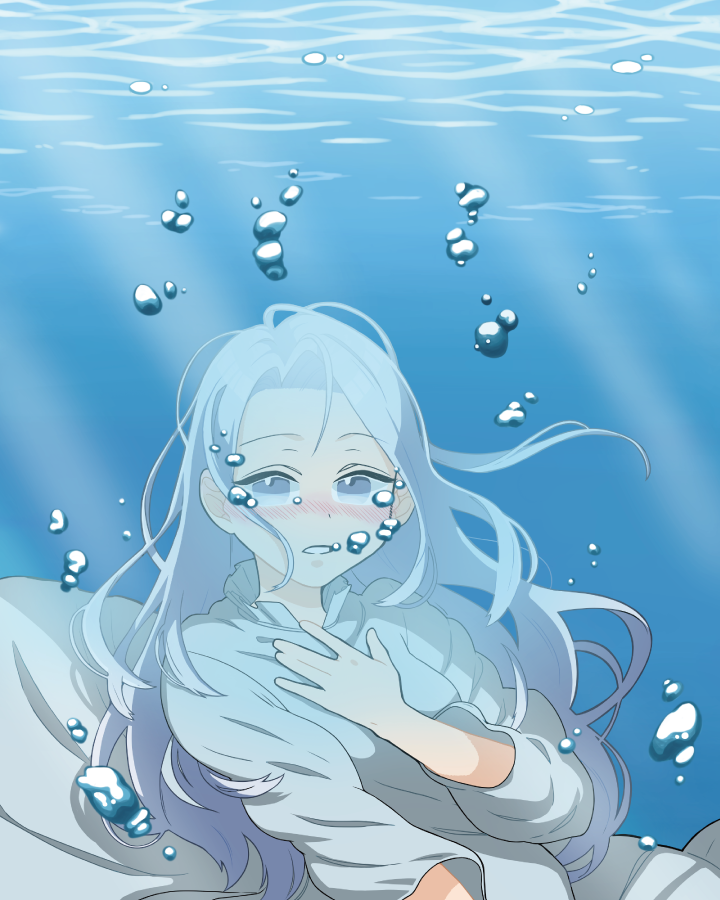
Let's make it spread from the top of the head to the hair and chest area.
Next, let's change the blend to Soft Light and adjust the opacity down as well.
In this case, the opacity is set to 50%.
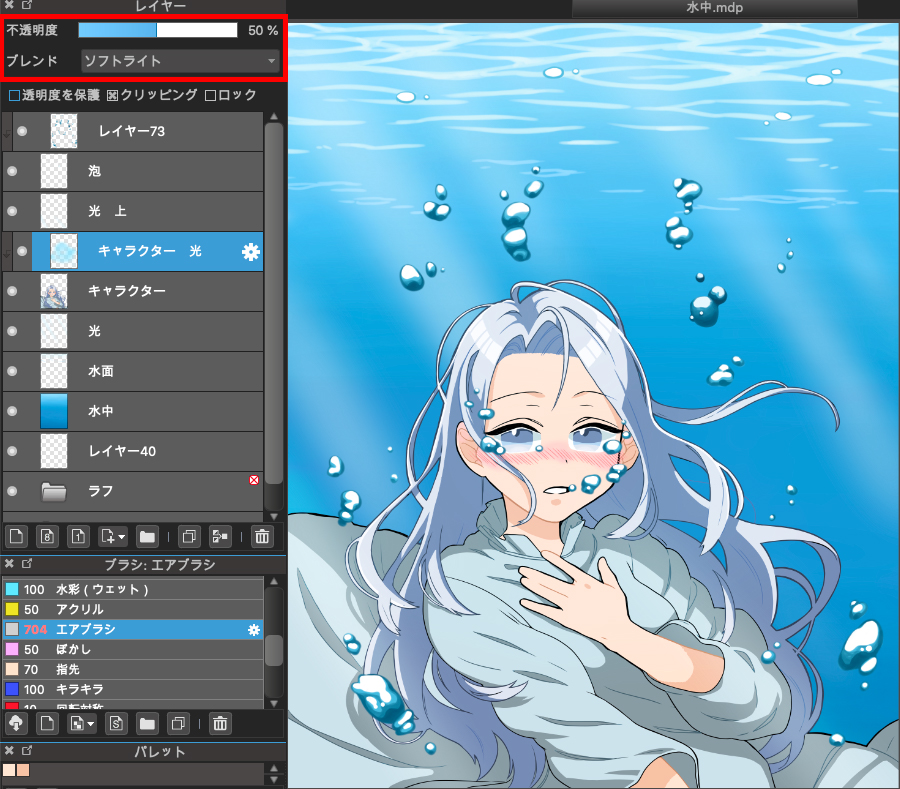
Adjust the blue on the layer and the opacity so that the character blends in with the blue in the water.
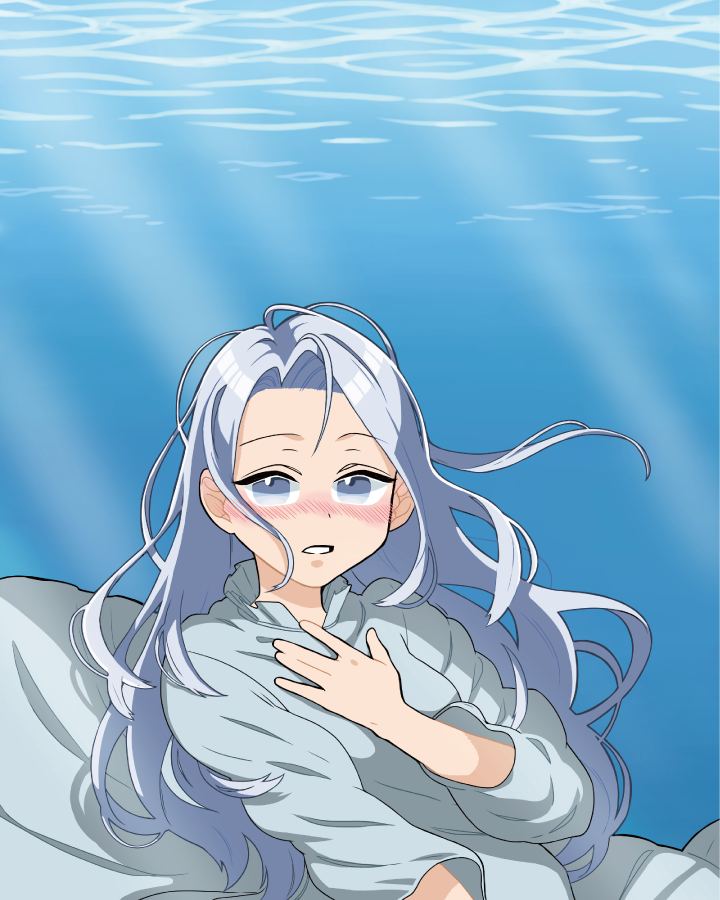
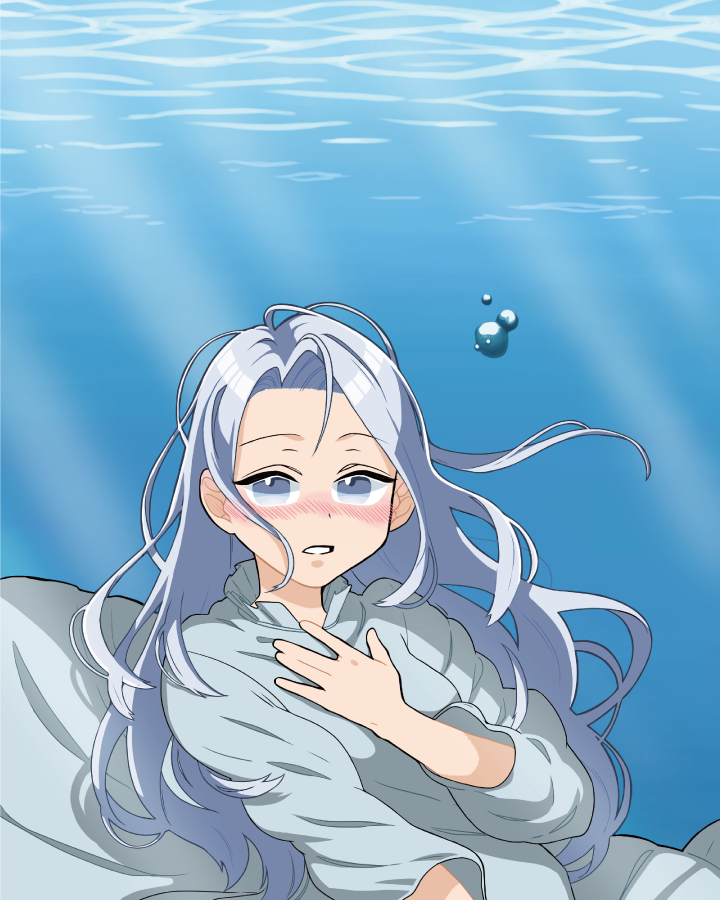
This is the end of the procedure.
And here is the finished illustration.

What did you think?
This is a subject that may seem difficult at first glance, but if you know how to do it, anyone can try it.
I hope you'll give it a try!
(Text and pictures by Hiromi Arakane)
How To Draw Hair Underwater
Source: https://medibangpaint.com/en/use/2021/04/tips-for-drawing-underwater/
Posted by: valenzuelacountim.blogspot.com
0 Response to "How To Draw Hair Underwater"
Post a Comment